What is this?
This is a documentation of a linux image and some specialized ROS nodes for the Lego Mindstorms EV3 Programmable Brick (6009996), featuring the EV3Dev project drivers, ROS and special nodes to support the EV3 Hardware with ROS Control.
Legal Notice
- Note
- This project is NOT connected to, or supported by "The Lego Group" itself in any way.
(yet?)
-
If you are a Lego employee and want to contact me about this, feel free to do so
(contact details see about link in the menu).
THIS LINUX DISTRIBUTION (COLLECTION OF SOFTWARE) IS PROVIDED "AS IS", WITHOUT WARRANTY OF ANY KIND, EXPRESS OR IMPLIED, INCLUDING BUT NOT LIMITED TO THE WARRANTIES OF MERCHANTABILITY, FITNESS FOR A PARTICULAR PURPOSE AND NONINFRINGEMENT. IN NO EVENT SHALL THE AUTHORS OR COPYRIGHT HOLDERS BE LIABLE FOR ANY CLAIM, DAMAGES OR OTHER LIABILITY, WHETHER IN AN ACTION OF CONTRACT, TORT OR OTHERWISE, ARISING FROM, OUT OF OR IN CONNECTION WITH THE SOFTWARE COLLECTION OR THE USE OR OTHER DEALINGS IN THE SOFTWARE COLLECTION.
EACH SOFTWARE IN THIS COLLECTION HAS ITS OWN SEPARATE LICENSE WHICH HAS TO BE RESPECTED!
- Warning
- The linux image might not be allowed to be used for commercial purposes (-> installed codecs, video libraries etc...)!
- Note
- Lego, Mindstorms and EV3 are registered trademarks of "The Lego Group". All other mentioned products are registered trademarks of their respective owners.
Images
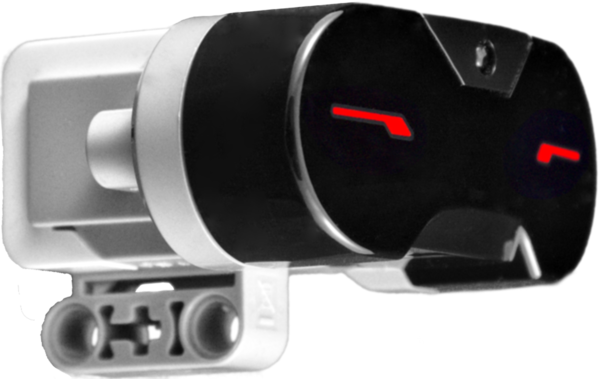
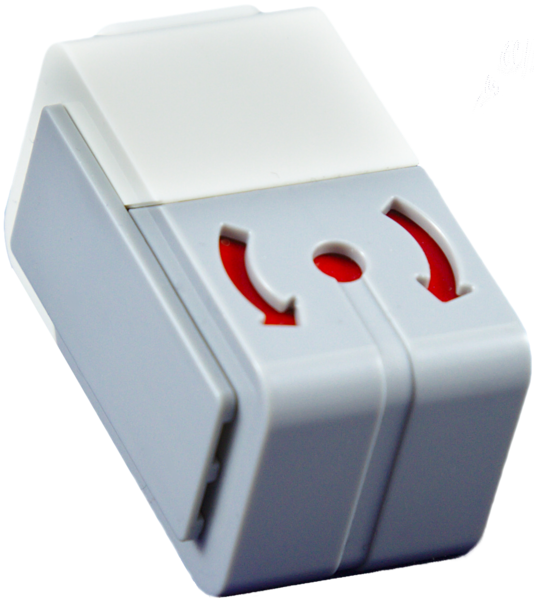
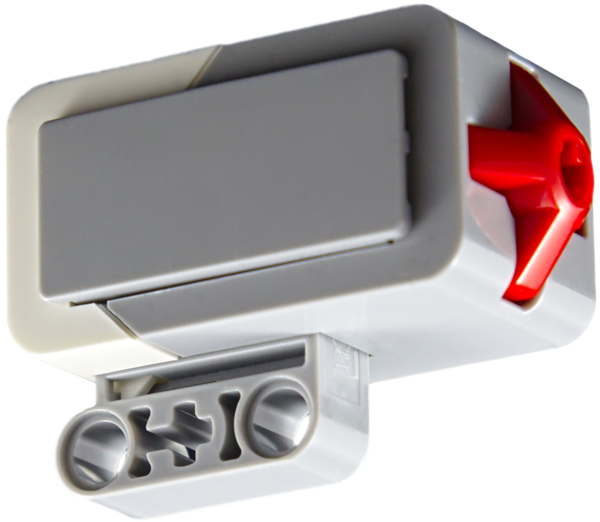
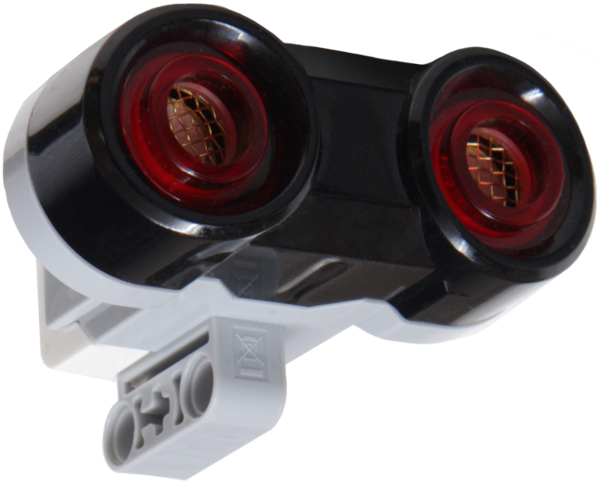
- Lego EV3 product photographs
Copyright: 2016, Christian Holl, Creative Commons Attribution-ShareAlike 3.0 - Project Background Image
Copyright: 2016, Christian Holl, Creative Commons Attribution-ShareAlike 3.0 - H4R Logo
Copyright: 2016, Christian Holl, All rights reserved.
Thanks
Special thanks go to my colleague David Bensoussan for giving me a nice short head start in using the sometimes wibbly wobbly, timey wimey Yocto.
- Note
- Well ... programming a Yocto recipe with some special stuff, is sometimes like a trip in the Tardis ... you start, you finish ... and you find yourself three weeks in the future ... unfortunately the Yocto-Tardis flies only to the future ... ;-)
Also thanks to the Yocto Project, to those who helped me with some special issues in the Yocto IRC Chat, to the EV3 Project for providing kernel and drivers for EV3, to the BMW Car IT for providing the meta-ros layer and finally to the ROS Community for providing all those nice ROS packages.
Project-Sources
Here you can find the project sources:
Getting Started
This section will introduce you how to use the alpha version of the EV3 H4R Yocto Image.
Download
You need to download the system files you will later put on your SD Card. The files to download are:
- boot.tar.gz
This contents of this file will be extracted to the boot partition.
It contains the boot script and the kernel image. - h4r_ev3_alpha_root_fs.tar.bz2
This file contains the whole root file system, it will be extracted to the root file system partion
Creating Partitions
Create two partitions on your SD Card, one FAT16 with 48 MB, and a secondary one with the rest of your card. The second one should at least have 1 GB, because the root file system is currently about 900 MB.
Extraction of Archive Files
To extract the files execute the following for both boot and the rootfs archive.
sudo tar -xjvf boot.tar.bz2 -C <YOUR_SD_BOOT_DIRECTORY>
sudo tar -xjvf rootfs.tar.bz2 -C <YOUR_SD_ROOTFS_DIRECTORY>
First steps for setting Wireless.
You need:
- USB Keyboard (Sorry Brickman is not working yet ;-) )
- USB Cable A-Mini-USB (EV3 Brick Computer Cable)
- Running Linux with drivers for the CDC Ethernet Gadget ... (probably inside the mainline Kernels)
After finishing and unmounting the SD card it is time to put it inside the EV3 and power it up.
Some seconds after starting you should see the H4R boot logo. If you see the normal Logo of EV3, then there is probably something wrong with your SD card.
After some time the yellow blinking of the LEDs should end with them lighting up in a constant green.
And on the screen you should see a login console.
Type root there and you should see a small introduction and a console prompt, now plug the EV3 USB cable to your computer and type gadget_on. This will create a connman profile for the USB gadget interface. It will as it should say on the little screen use the IP address 192.168.10.123.
Then connect to your EV3 via the network interface which should have appeared in your network interfaces. You need to manually set an IP in the range of 192.168.10.<X> , where <X> is not equal to 123.
After that you should be able to connect via ssh by executing:
Wireless Setup
If you not have already done connect your wireless USB adapter to your EV3.
Then execute connmanctl which should give you a connman promt.
There you call services, which, when your wireless adapter is working, should display you available wireless networks.
After that enter agent on and connect wifi_<YOURHASH>. It will ask you for your wireless password now. And if everything is correct, the EV3 should connect to your wireless network
Btw: This will disable your gadget interface connection as long as there is a wireless connection!
- Warning
- There is an driver issue for some wireless adapters, I can recommend you the EDIMAX EW-7811Un (known from RaspberryPI) at the moment, if your own does not work.
Wired Setup
If you have a LAN USB adapter, you can directly connect your EV3 to a network with DHCP.
Getting started with ROS on EV3
ROS Master and ROS IP
- Warning
- I do not recommend you to run the ros master on the EV3. It will most likely crash ( RAM )!
I created some nice scripts which will set the ros master URI. and ROS_IP (if you do not have a DNS in your network).
- ros_master_set HOSTNAME PORT(optional)
- ros_ip_set NETWORK_INTERFACE
- Note
- Those commands will create text files, which are automatically loaded, when you login by console, so there is no need to change the .bashrc!
Starting the Ev3 Manager
Start roscore on the computer you set the master URI on your EV3. Then on your EV3, execute ev3_manager.
Loading controllers
At the startup of the ev3_manager you will see no topics at all, because it uses ROS Control to load different controllers which create the publishers and subscribers on their own. So at startup there are only services visible.
Here you can find the documentation for the EV3 Sensor Controllers.
Examples
Here are some examples of how to load the controllers.
